How to Age Wood the Easy Way
/As I was completing Asher’s big boy room, I wanted to add a few of those finishing touches. He has a lot of new things so I wanted to incorporate something that was “old”. Plus he was needing something that would make getting up to his bed a little easier. Instead of going on the hunt for an old stool, I decided to build him a stool out of scrap wood and then age it to make it look like it was old.

Don’t want to make your own stool? Here are a few that you can purchase off Amazon to start the aging process.
There are various ways to age wood; this method has been the best way that I have found to achieve the perfect result. Another thing to keep in mind is that it is totally customizable to your liking. You want more chunks taken out? Go to town with the planer. Don’t want as many scratches? Don’t go as crazy with the jigsaw.

Enough of that…Let’s get started!
Tools & Materials
Planer - a new to me tool, but extremely helpful with shaving down wood (here is a cheaper option)
Jigsaw - a tool that every DIY’er needs
Drill with Wire Attachment - really gives it the finishing touch
Orbital Sander - another DIY’er must! This one is my favorite.
Stain + Sealer of choice - what I did used ended up being a happy accident

*These links contain affiliate links. Meaning if you purchase through my link, while it’s the same cost to you, I get a small commission – see my full disclosure here*
Step 1: Plane the Wood
This part was the scariest in my opinion because it is the most intense part and takes out big chunks. But at the end, it will all come together.

I began by going slow with the planer and in small chunks, starting with the leg edges. Then I moved to the top and flat surfaces. There were some accidental chunks that I took out, but in the end, those ended up being my favorite. Don’t be afraid with how it will look at this point.


Step 2: Jigsaw the Edges
Next, I grabbed my jigsaw and went around the edges. As the jigsaw was going, I would move side to side to give the edges that rough look. Some areas had deeper cuts, while others were more surface level, perfect to mimic aged wood.


Similar to with the planer, it looks scary once you are finished. Keep going!
Step 3: Wire Brush for Extra Texture
After the jigsaw, I almost didn’t do this next step, but I am so glad I decided to keep going. The wire attachment really opens up the wood grain in areas to give it the scratched wood look. It is quite simple to do. All that is needed is a drill and the wire attachment. I simply went over all the flat surfaces. After covering all those flat areas going with the grain, I went in all different directions to really give it the texture.

Definitely don’t miss out on this step!
Step 4: Sand to even everything out
This is where things start to come together and even out. I took my orbital sander and smoothed all the areas out. This really helped with taking all those gashes, cuts and scratches and made them look natural and like they had been there for years.

Before moving on to the final step, I went back and used some of the tools from steps 1-3 again until it was exactly what I wanted. Then gave it another final sand before moving on to the stain.

Step 5: Stain + Seal
This is all preference so I will just share what I did. And what I did wasn’t my original plan, but it ended up being a happy accident.
I wanted to use Minwax in English Chestnut, but didn’t want it to be super dark so I decided to go over it with a whitewash first. I was hoping that it would help with evening out the different types of wood I used.


However, after finishing both the white wash and going over it with the English Chestnut, it was too gray for me.
So I decided to sand it all off, but didn’t want to sand too much that it took away all the aged character I just added. Instead, I sanded enough down to get off the majority, but all the divots still had the two stain combo {happy accident}.
Then I went over the whole thing with this Danish Oil one step finish. It was everything I didn’t know I originally wanted, and I am so glad it worked out that way.
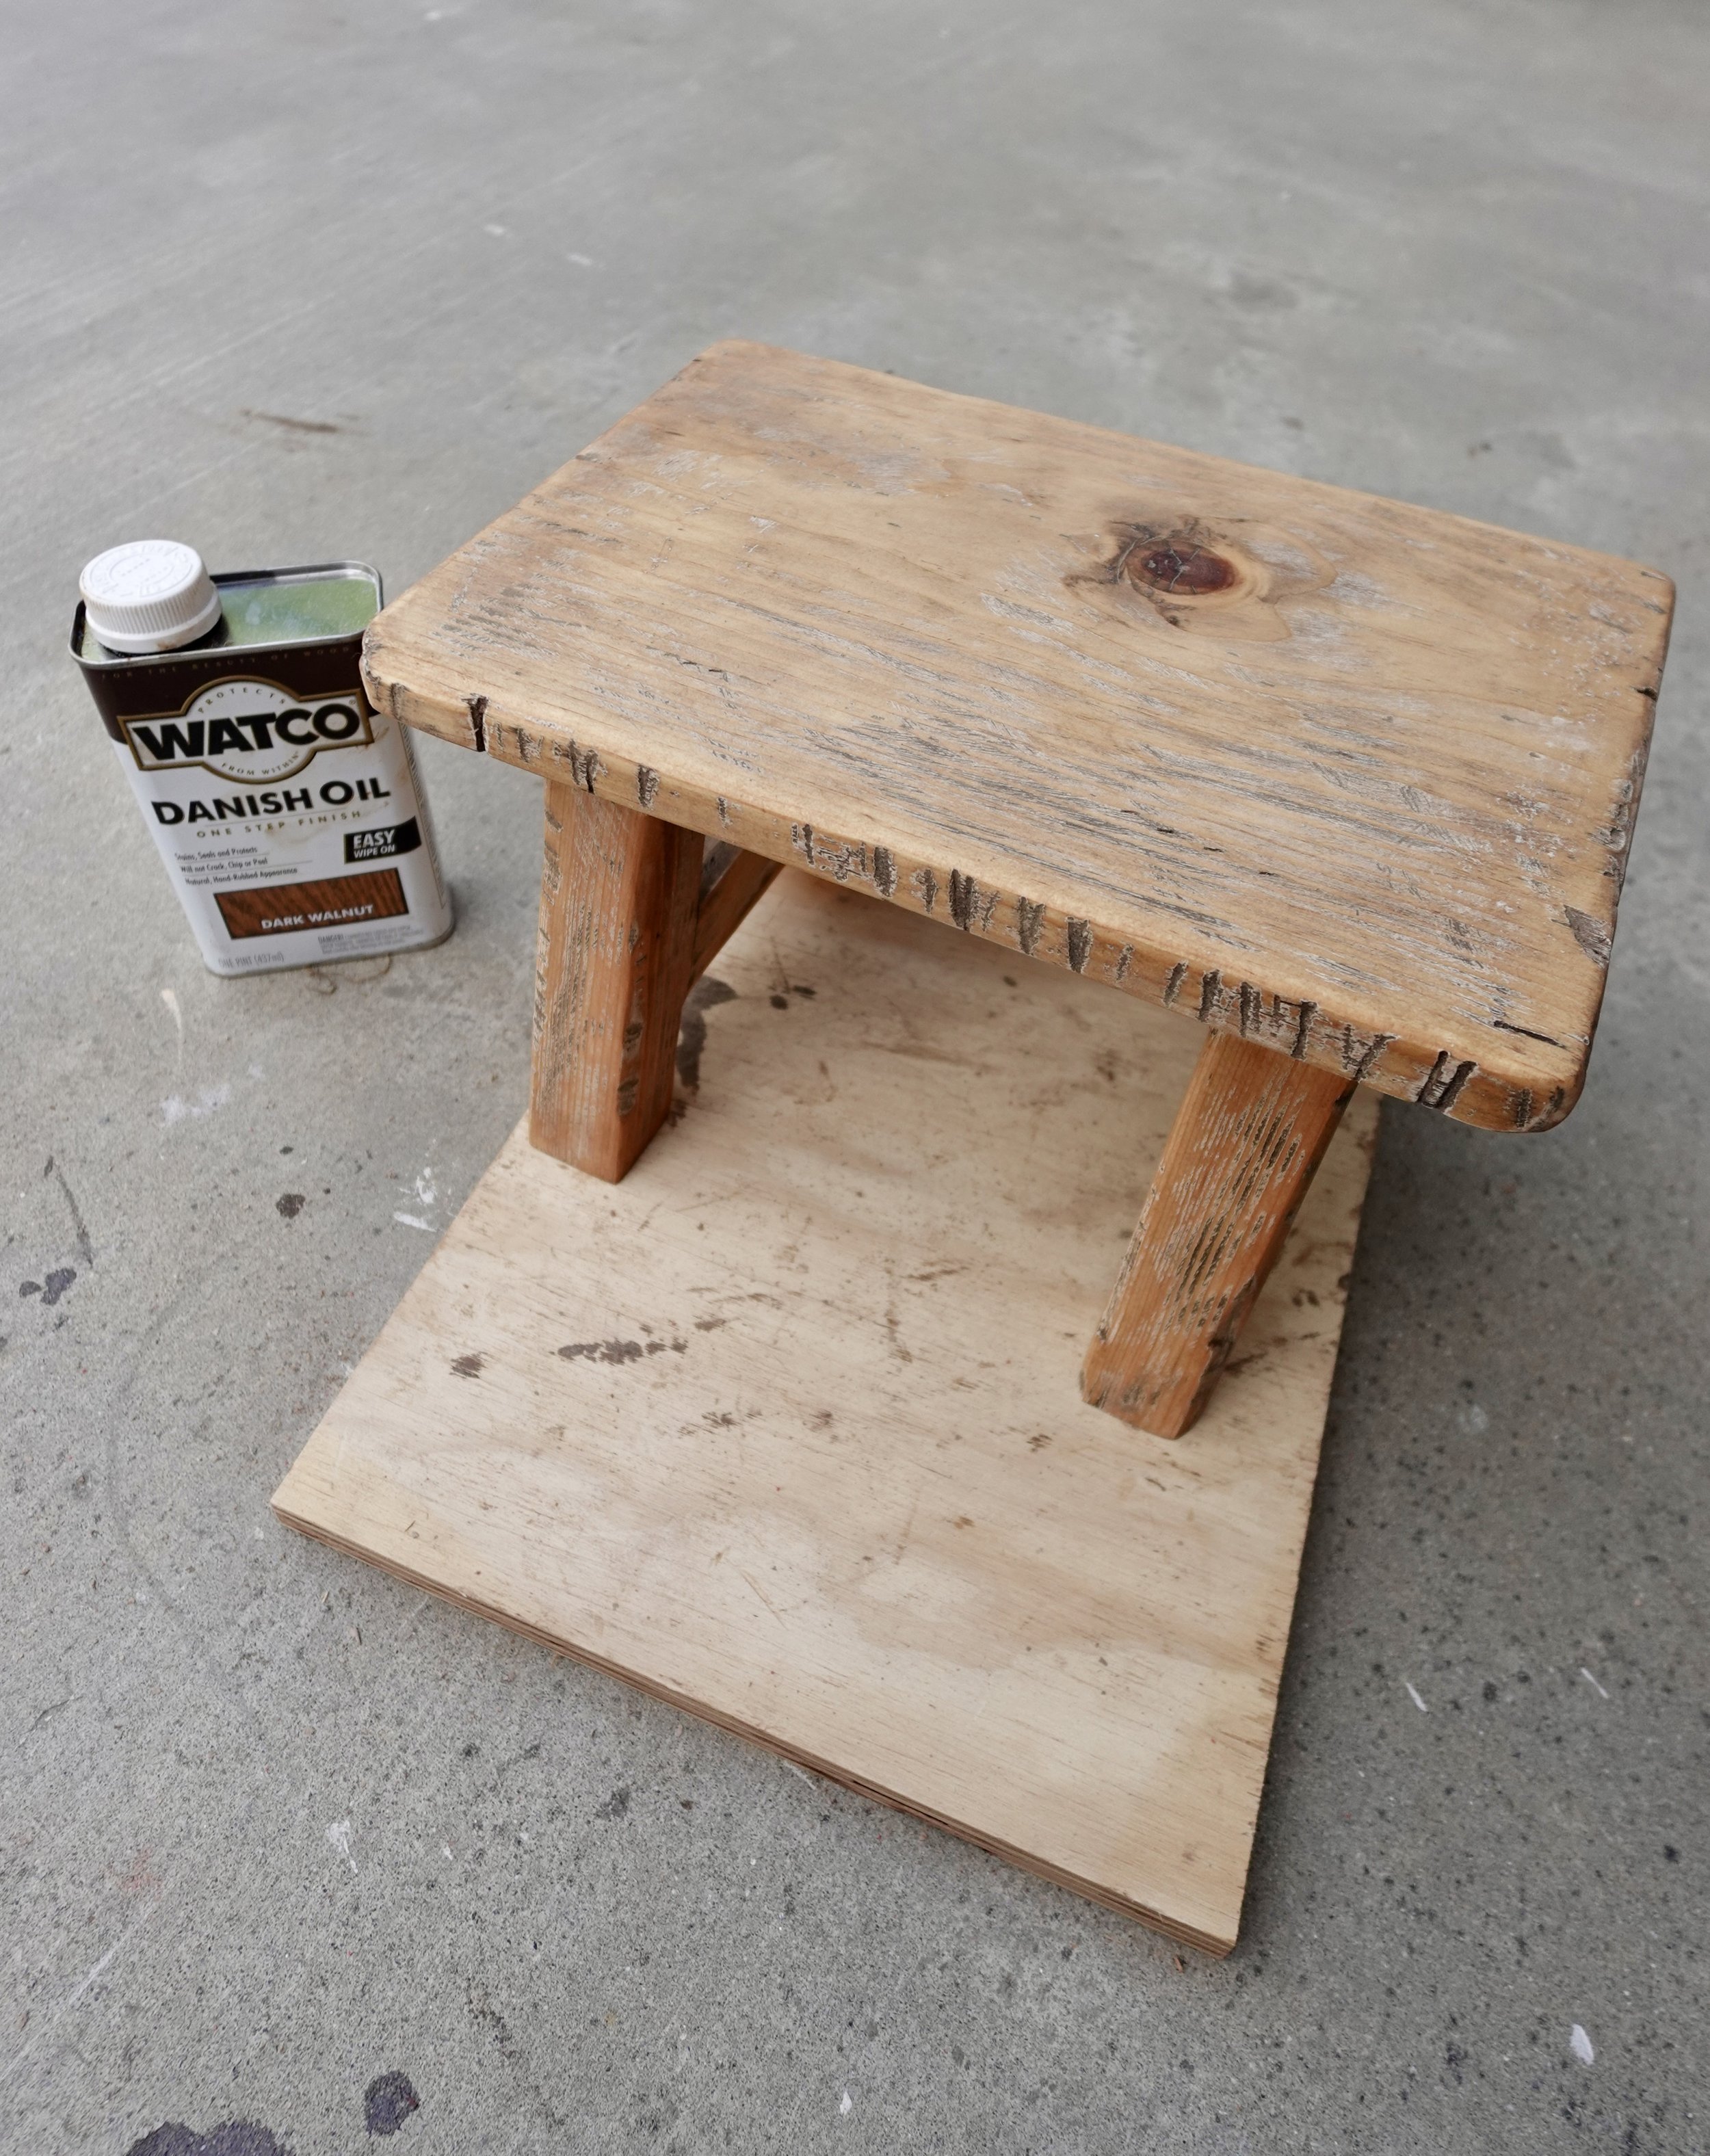
And there you have it! Asher now has the perfect stool to help him get up to his bed all while adding character.

The thing to remember is you get to make it your own. And if you don’t like it at any point, or want to add more, you change it up.
with love, andi
Want to save this for later? Save to your favorite Pinterest board! And see it all in action in this Instagram reel.