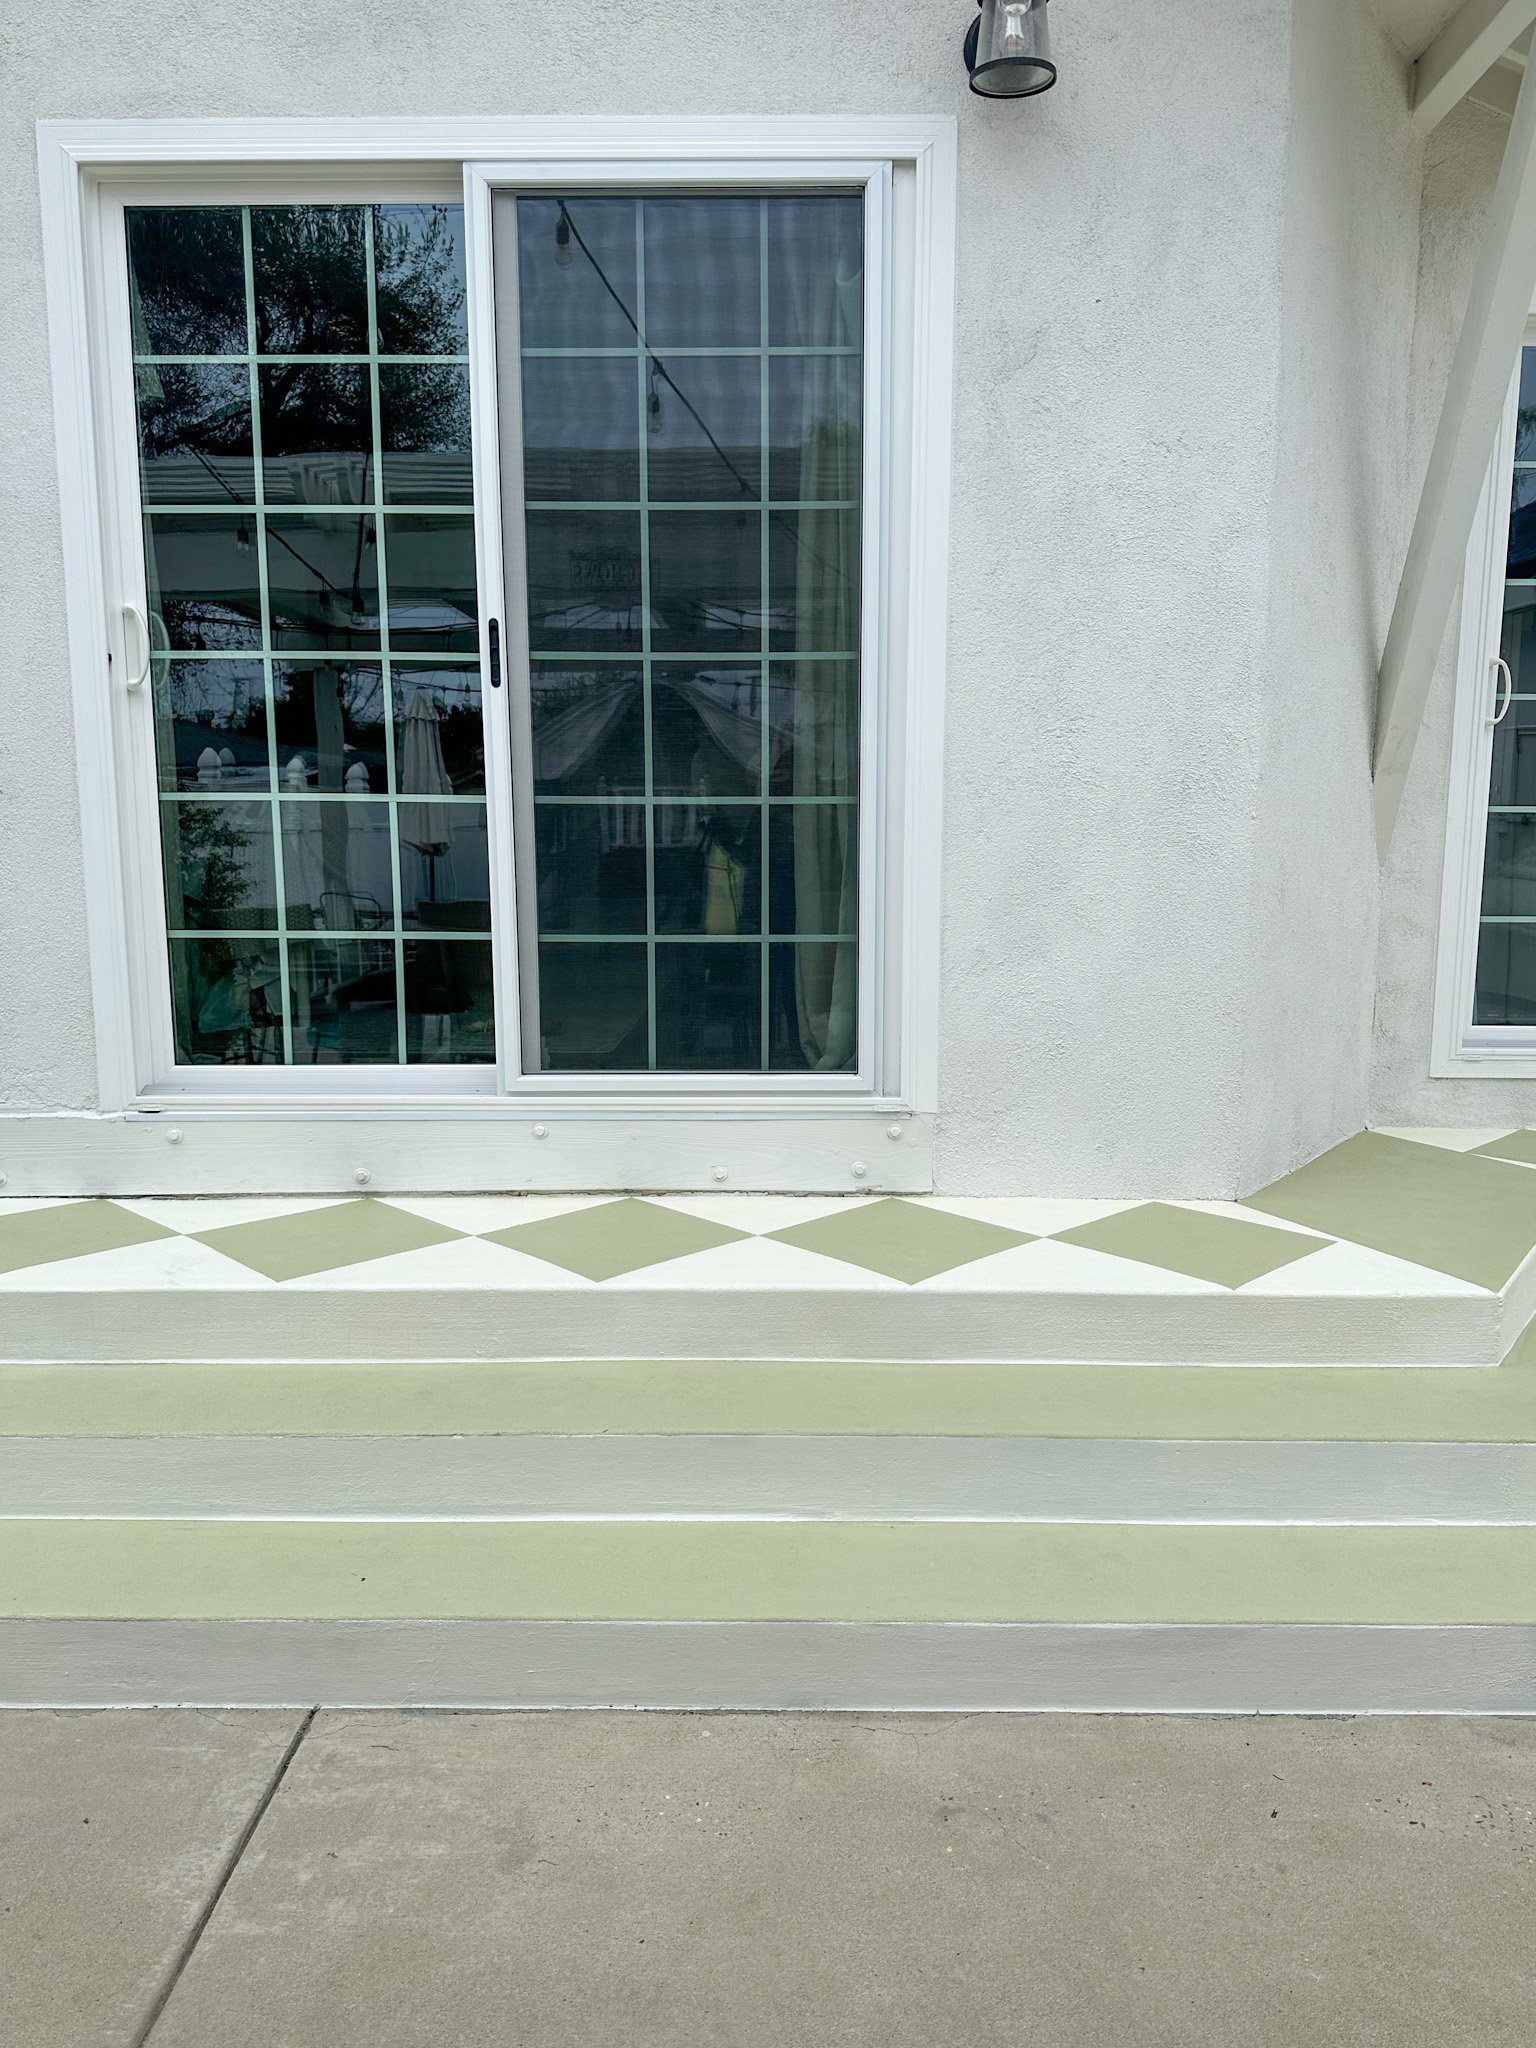
How to Paint Concrete Flooring with a Stunning Checkerboard Pattern
/Our back steps have been in need of a makeover since the day we moved in {like knock down and completely redo}. Since we’ve had other high priority projects ahead of this one and knowing that a completely overhaul of this space will mean $$$, I’ve decided to take matters into my own hands and give it a facelift by painting a checkered pattern on the concrete steps.

One thing to make note of before we go through the steps: This is not a quick project. It does save you a ton of money with making a big impact, but if you are planning on doing the checkerboard pattern, know it will take time {I think just knowing that ahead of time helps tremendously...there is nothing like starting a project thinking you will get it done in a weekend and it taking 4 weeks}. If you are not planning on doing the checkerboard pattern and are here to learn how to paint the concrete the proper way, you will finish much quicker :)
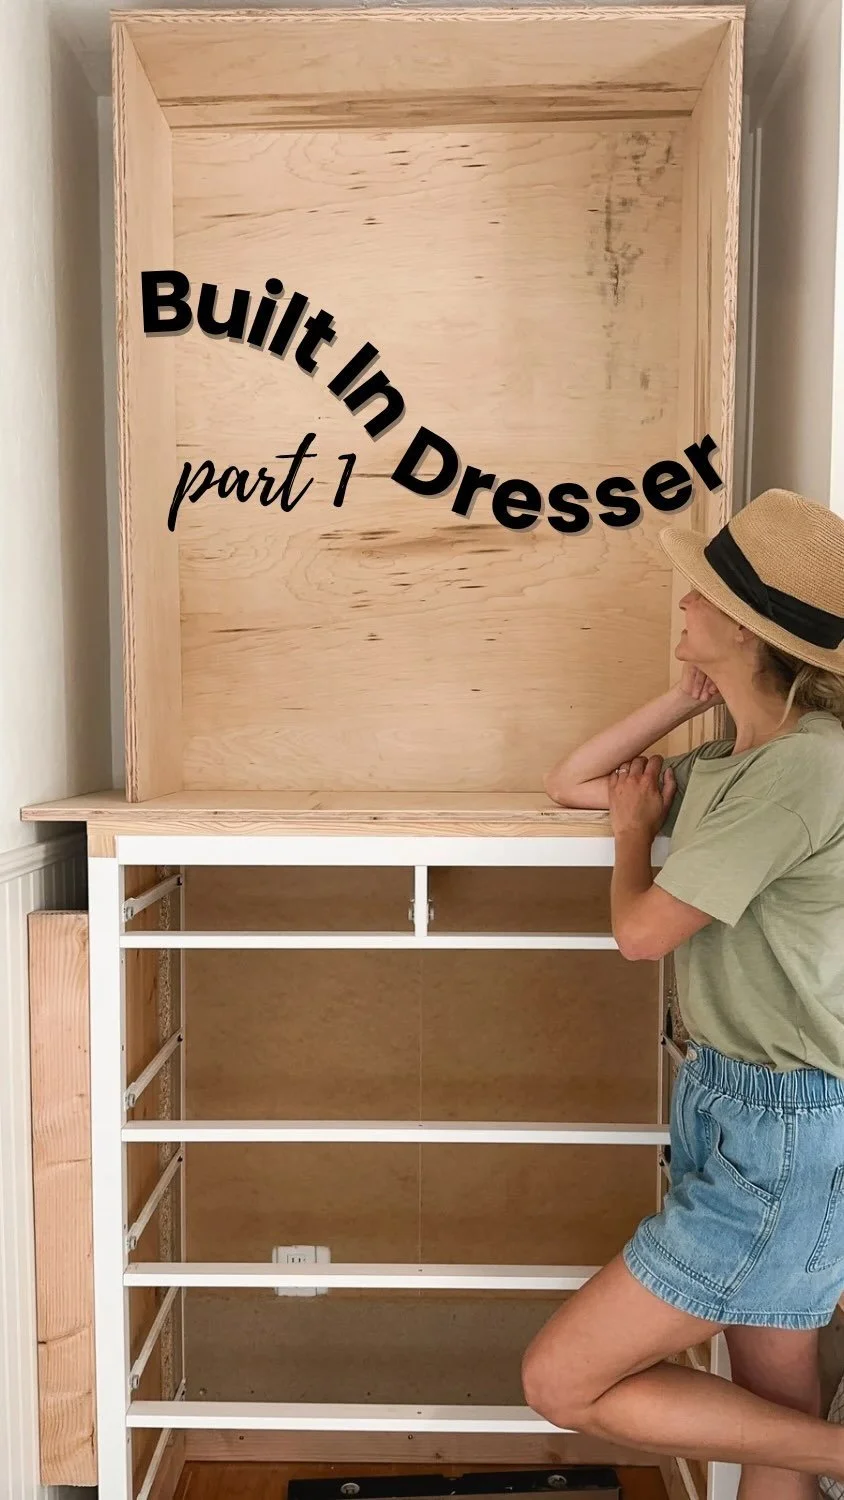
The thing I have learned is that every step is important. When following each step properly, this will make a big impact and last over time {you can see what it did to our back stoop here or here}

Materials:
Pressure Washer - not an absolute must, but it is helpful with the cleaning process
Concrete Crack Seal - if needed
Concrete Paint in color of your choice - but if you want a non slip paint, this one is a great option. I am using Alabaster and Sage for mine.
Painters Tape - this stuck best to the concrete
Carpenter Square - this is really helpful with drawing out the checkered square
Paint Brush - my go to paint brush
Paint Roller - these microfiber ones have been my favorite
*These links contain affiliate links. Meaning if you purchase through my link, while it’s the same cost to you, I get a small commission – see my full disclosure here*
Step 1: Pressure Wash
The prep work is the most important part. Every step is important, really. But if you don't prep it properly, then all your hard work in the end won't be worth it. I have seen people combine step 1 and step 2 {only doing one of them} and that might work. But I really don't want to take the chance on something that I am spending multiple hours doing, so just to be safe, I am opting to do both.
Give your area a good pressure wash. I always thought pressure washers were an unnecessary item...until we got one. We use this thing so much. One thing to make note, be careful of the nozzle you use! For concrete, I used the most powerful turbo nozzle and it is perfect, but if you accidentally spray somewhere else, it can take off some paint.

Step 2: Clean and Etch
The next step is to use this clean and etch for concrete. Not on does it clean {duh, it's in the title} the concrete, but it opens up its pores to accept the paint. The directions are pretty easy to follow, but you basically mix it with water, pour it on the concrete, scrub it with a scrub brush, and rinse again.
If you have any cracks in your concrete, use this concrete crack seal to fill any cracks.

Step 3: Prime
This bonding primer goes on milky white and dries clear {with a small sheen}. The sheen is really helpful to see if you miss any spots.

Step 4: Paint Base Color
This is where things get fun! Apply your base coat liberally to the whole space using your lighter color. {Note: I went back and forth between if it was wasting paint to paint the whole thing first just to tape and paint over with the sage. But I quickly vetoed that idea when I realized that I would end up having to tape the checkers twice, one for the white and one for the sage}.


Make sure you fully get the whole area, even if you know some areas will be covered with the top color {this way you don’t accidentally skimp on an area you think will be your second color and have to touch up later}. For me, the base took 3 coats. This paint brush is perfect for cutting in the edges and this paint roller makes for an easy application.
Because I am doing the top of the stairs a solid sage, I didn't need to do any white there. Once all the white is on, before starting the checkered pattern, I am taping off the stairs and applying the sage on the steps {leaving the risers white}.

Step 5: Checkerboard pattern
If you want to save yourself some time and skip the checkerboard pattern, skip to the next step. But if I'm 100% honest, the checkerboard pattern is awesome and what makes the whole thing! It takes a few years of your life, but it is worth it. And my favorite part is there is math involved. I always get giddy when that happens {don't worry, I'll walk you through it}.

You first want to decide how many squares you want in your space. Take the length of your space and divide by how many squares you want. This will give you the diagonal of your square. Once you know your diagonal, you can create a template using that length then use Pythagorean Theorem to get your side lengths and double check your template before cutting it out.
To create the template, I am using scrap piece of thin plywood. Use the diagonal length to create your square by crossing the diagonal length perpendicular in the middle. Your ends of the diagonals are the corners of your square. Then use a Carpenter Square carpenter square to draw the outer edges of your square.

Double check the side lengths to make sure you drew your diagonals correctly by using Pythagorean Theorem a² + b² = c². The c is your diagonal length. Since you are working with a square, your a and b are going to be the same, so your formula becomes a² + a² = c² or 2a²= c². To find what your side length should be, you are going to square your diagonal length, then divide it by 2 and then take the square root.


**After trying different ways, this is what worked best for me in creating my template. Since my diagonal lengths gave me a decimal for my side lengths, I chose to do it this way. You could easily draw your square using your side lengths.
Step 6: Tape

Before taping, start off by tracing my template with a light pencil line for each square {after the second coat is on, you can use an eraser or paint to cover up}. Once all your lines are drawn, tape off your squares to paint your second color.


Step 7: Paint Second Color
Before you paint your second coat in the designated squares, do a light brush over the tape with your base coat and let dry {this helps with preventing the top color leaking under the tape on your base color.}

Then paint your second color and after enough coats, pull off while the paint still wet.


Step 8: Seal
The last and final step is to seal all your hard work.


Now is when you get to step back and enjoy your masterpiece.
Let me know if you try it out! There is nothing better than hearing from someone who was inspired by something you did. Thank you for being here. Mean it!