Bunkbeds and Rainbows- Our Journey to Creating a Dream Girl Room
/A year and a half ago, we went on a crazy journey to DIY bunkbeds for our girls while I was 7 months pregnant with Asher. The girls would begin sharing a room and we wanted to create a special place for them. I had dreams of creating a whole dream room for them, but once Asher was born, our life was filled with adjusting to being a family of 5.

A couple of months ago, the time finally came to create their dream room filled with rainbows. I wanted each of them to have their own space and create their own little retreat.

Before getting to work, I had to come up with a game plan. I started off with a mood board to design the finished space. I used to imagine it in my head and wing it from there, but that didn’t always work out. Now, I start off with a mood board design and go from there.
Some things turned out differently than I originally planned, and I am so glad they did. Keep reading to see what was different then the mood board.

The girls helped pick out and approve everything in their room. Berkley knows exactly what she wants and Sawyer is at the age of following her sister. Their non negotiable was that it needed to include rainbows, lots of rainbows.
Prior to getting to all the design fun design stuff, I wanted to fix all the trim around the doors and window. This was probably the most challenging part of the whole project. Our house is 100 years old filled with plaster walls. The walls in the girls room are extremely uneven. After trying to remove the trim, I discovered that the original thin trim is actually connected to the door and window jambs. I had to get creative and finally found a solution. Now, it flows so much better and looks like it was always meant to be.


Me being the person I am and so excited to start projects, I am always terrible at taking before pictures. The only before picture I have of the trim is the one of their closet door with the flat panel door. We are currently working on replacing it with a shaker style door to match the rest of the house so I don’t have an after picture of that space. But you can see the after of their entry door with the new trim and painted door hinges :D
After finishing the beast of the trim, I came up with an idea to create an extra large rainbow that would be more of an art piece rather than just painted on the wall. The original rainbow was only visible for Berkley on the top bunk so I wanted to create something that would be visible from both girls’ bed. You can see more on how I made a large rainbow art piece here.

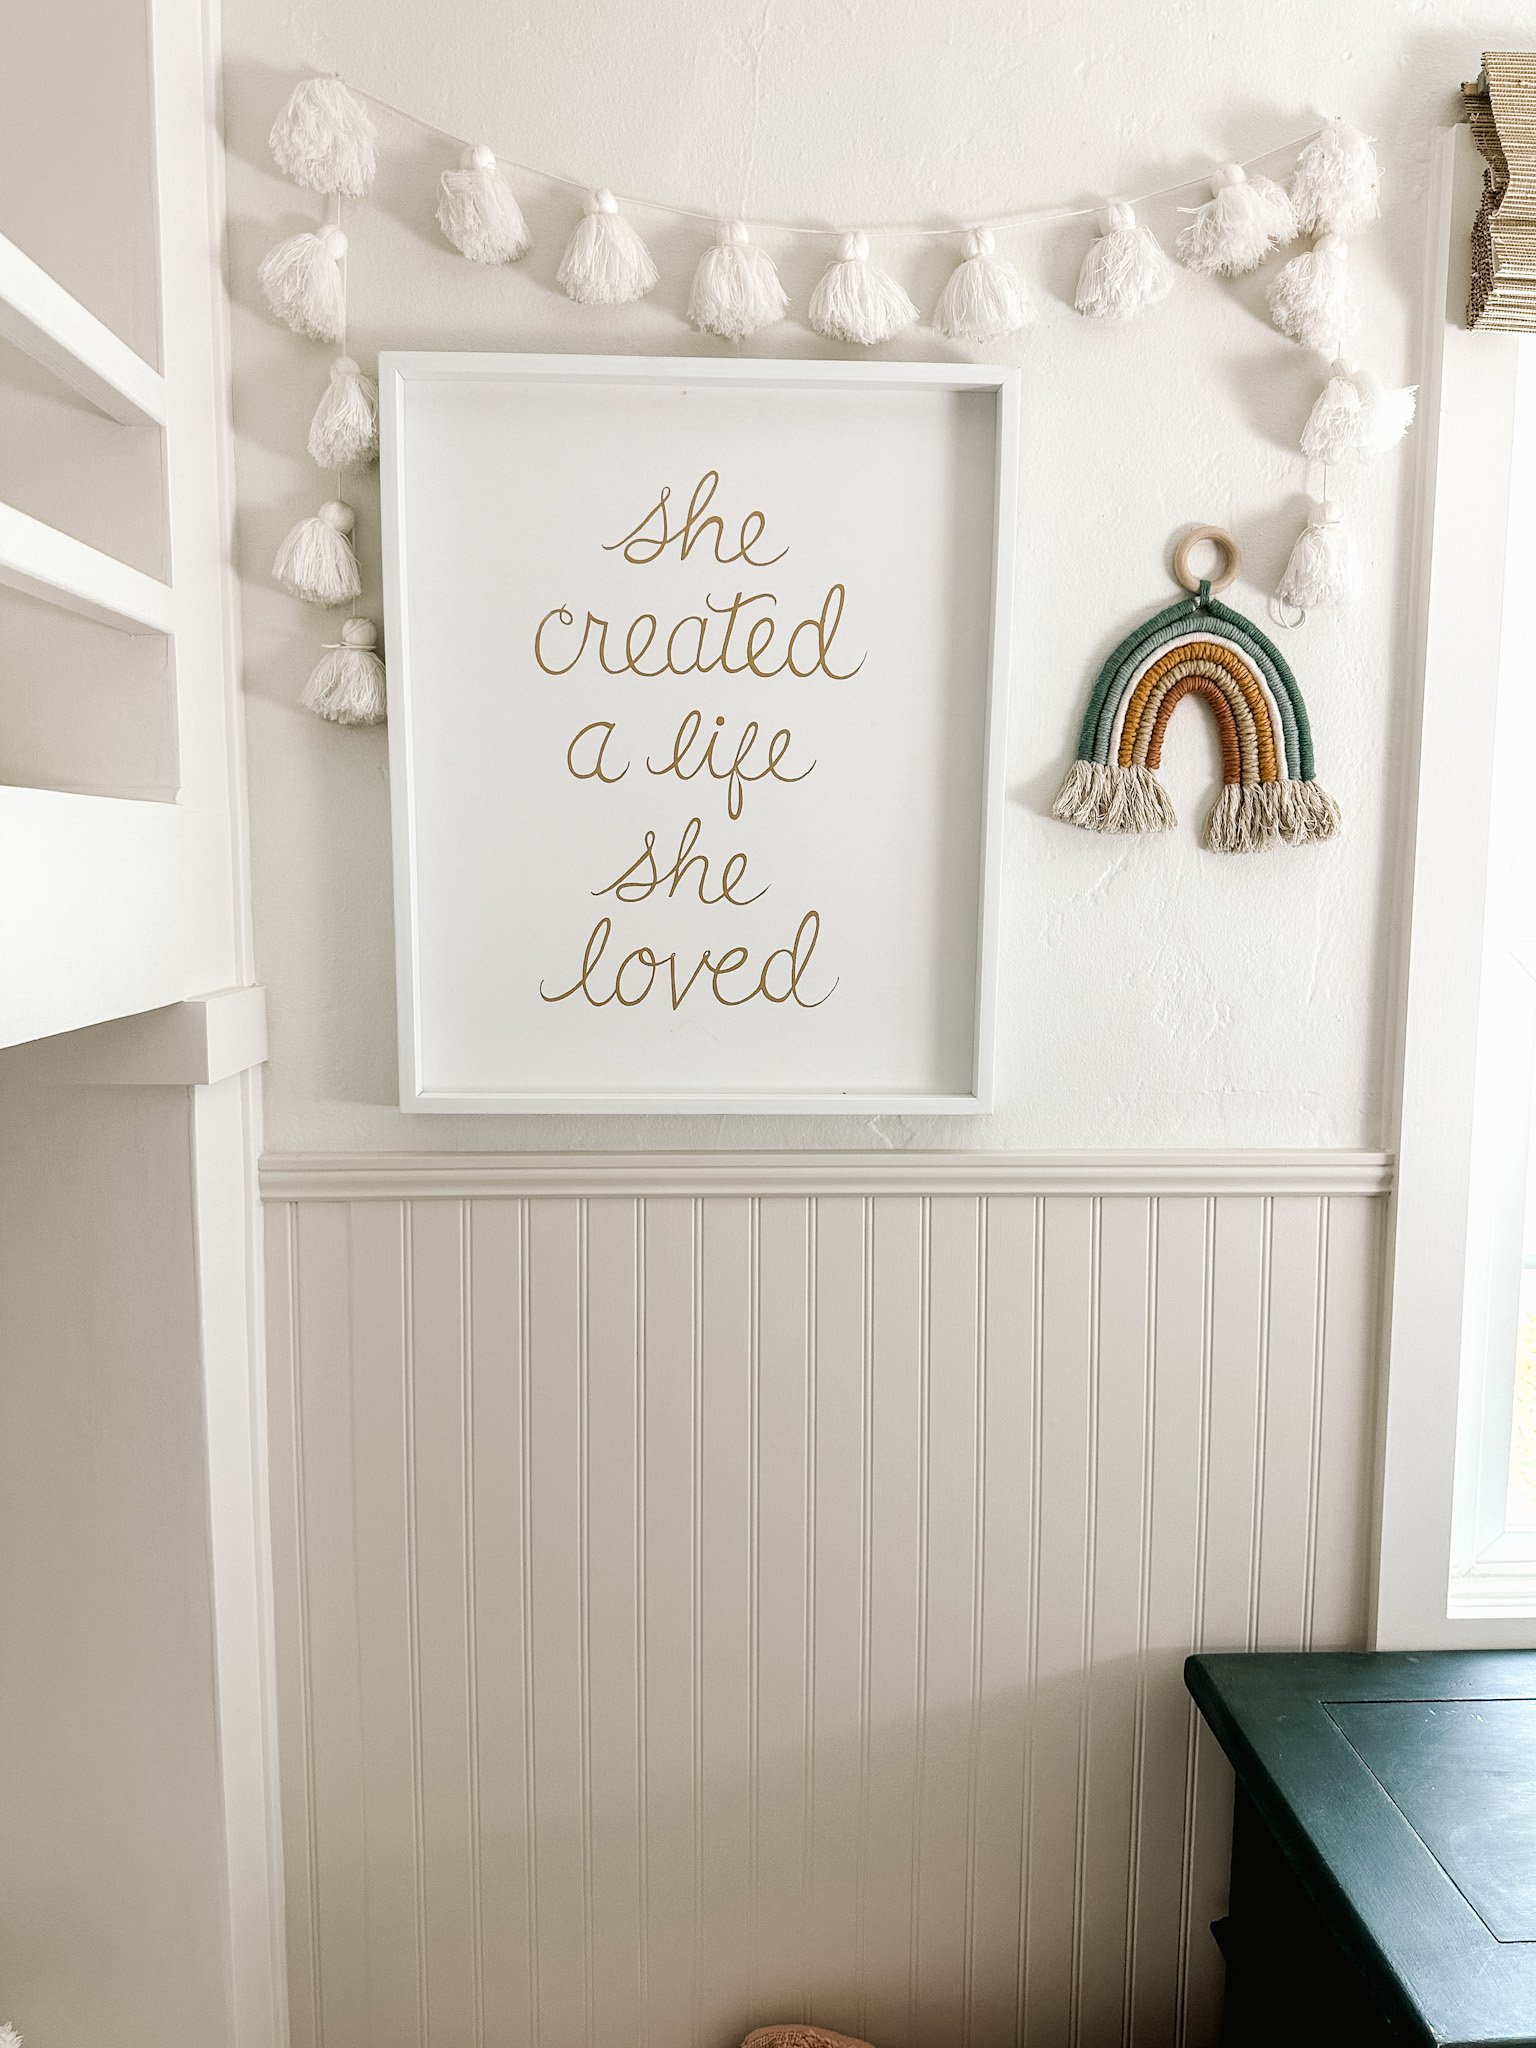
Next up was to paint the beadboard. For years, I kept it the same color as the walls. I was afraid to add color and now that I have done it, I don’t know why I waited so long! It took me a while to pick the perfect color. I really liked the color SW Natural Linen, but it clashed with the drop cloth of the rainbow canvas. After trying out different samples, I kept coming back to Natural Linen. I ended up going with SW Natural Linen and lightened it by 50%. Best decision! In case you didn’t know, you can lighten/darken colors in 25% increments.

This next part was different on the mood board. My original plan was to do stripes on the back wall using the same colors as the rainbow. But after some thought, I decided to add more rainbows by creating a Faux Wallpaper. I am so glad I changed this design plan, I love how this turned out so much more. You can see how I created a faux wallpaper here.
I am thinking about adding in some smaller rainbows to fill in the gaps. What do you think?

The final piece was adding all the other details to make their room complete and their dream room with another shelf for their books, baskets for their toys and a different rug that went better with their color scheme.


Shop the Girls’ Room

*These links contain affiliate links. Meaning if you purchase through my link, while it’s the same cost to you, I get a small commission – see my full disclosure here*

There are still 2 more things I need to do to complete their room, hang the new shaker style closet door and DIY a custom closet, but that is for another time. For now, the girls are happy with what has already been done. Thank you for coming along creating a dream room for our girls with me!