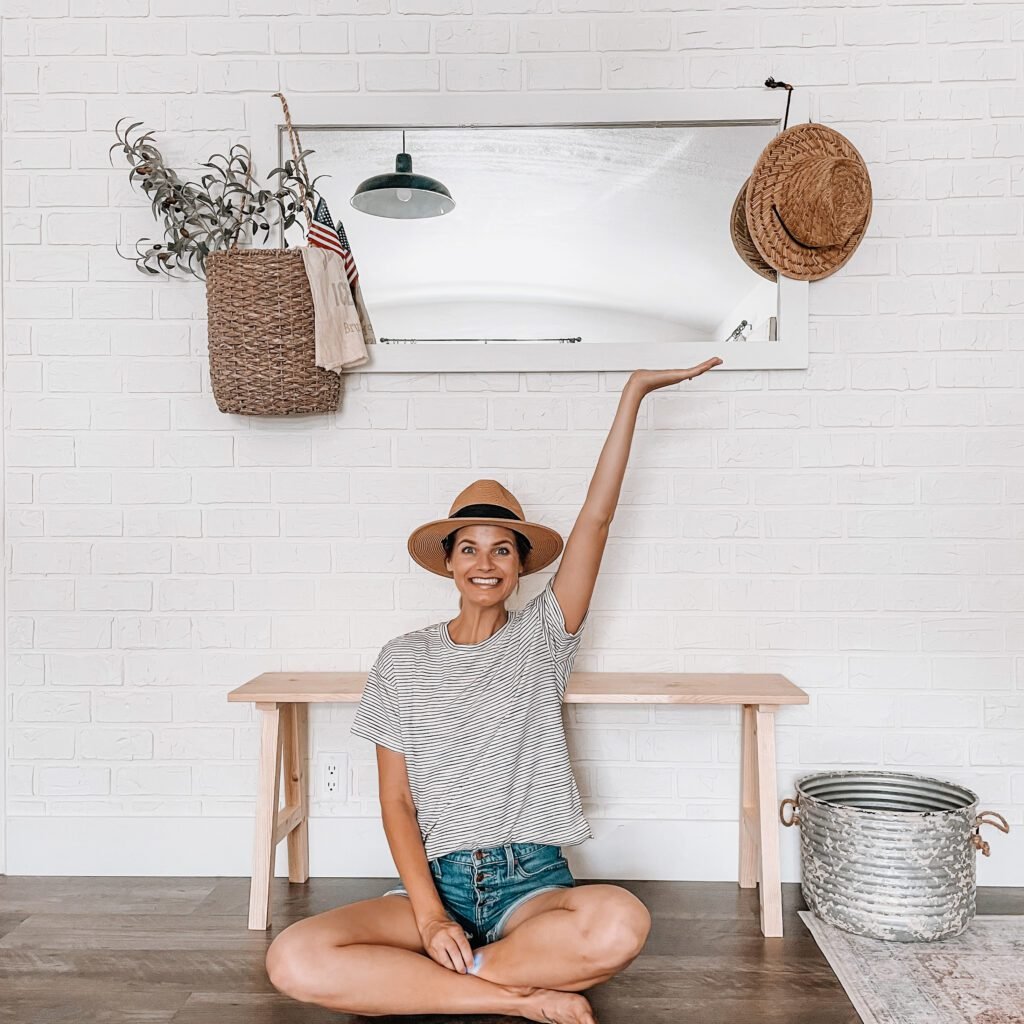
Simple DIY Farmhouse Bench in 3 Easy Steps
/When you want a bench, but don’t want to spend the money, you make your own. All it takes is 3 easy steps!
Materials:
1" x 12" x 4' Wood of Choice
1" x 4" x 6' Wood of Choice
2" x 2" x 8' Wood of Choice
Stain & Sealant
Pocket Screws (optional)
*This post contains affiliate links – see my full Disclosure here*
Cut List:
2" x 2" x 8'
Cut 4 18" for the legs. Then cut the ends at a 10 degree angle, making sure the ends are parallel to the opposite end.
Cut 2 7.5" for the braces between the legs. Then cut the ends at a 10 degree angle, making sure the ends are cut at the opposite angle, forming a trapezoid

1" x 4" x 6'
Cut 1 40" for a support under the bench
Cut 1 9.5" for the legs support and then cut in half to create 2 1" x 2" x 9.5"


Step 1:
On your 1" x 2" x 9.5" boards, measure where you want your legs positioned. Attach your legs by screwing 2 screws through, applying wood glue first. After trial and error, I found it best to clamp the leg flat on a table and then use another clamp to hold the base to the leg.

Here is what it looks like once the screws are in.

The leg support isn't attached to the legs yet. This will be easier to do once the legs are attached to the bench seat.
Step 2:
Next, you need to attach the legs and the 1" x 4" x 40" bench support to the bench seat. Measure and layout your pieces until they are where you want. Add wood glue and clamps to help you keep your pieces in places and then use woods screws to secure to the bench.

For this part, you can simply drill the leg supports into your legs and the base into your bench seat, or you can drill pocket holes into the bottom of the leg supports (1 on each side opposite of each other so it doesn't spin) and bench support (2 on each side).

All done! Now for the finishing touches.

Step 3:
Before the final step, if you want to give the bench an aged look, take various tools {screwdriver, hammer, chain} and go to town on the bench. Finally, sand down the edges, stain with your stain of choice and seal with a polycrylic. I chose to mix stains to create this look, using Minwax English Chestnut and Classic Gray.


That’s all there is to it! Thank you for being here.